
Diagrams
Create one or more annotated diagrams to visually record findings as part of a patient's clinical notes.
Key Activities
- Create multiple diagrams for a single consultation.
- Draw directly onto a blank canvas or annotate over anatomical background images.
- Add freehand drawings, text, arrows, lines, double arrows and ellipses.
- Customise colours, line widths and drawing settings.
- Switch between multiple diagrams using the diagram list.
- Diagrams are saved as part of the patient's clinical notes.
Overview
The Diagrams tab allows practitioners to create visual clinical records that form part of the patient's consultation. Diagrams may be completely freehand or based on anatomical background images which can then be annotated with drawings, arrows, text and other mark-up tools.
A consultation may contain any number of diagrams, allowing practitioners to record findings from different body regions or create separate diagrams for different stages of treatment.
Common Tasks
The following common tasks can help you get the most out of this screen:
Create your first diagram
- Open the Diagrams tab.
- Click Add Diagram.
- A new blank drawing canvas will be created.
Annotate an anatomical image
- Create or select a diagram.
- Click Change Background.
- Select the required background image.
- Use the drawing tools to annotate the image.
Create multiple diagrams
- Click Add Diagram again.
- A new independent diagram will be created.
- Select any diagram from the list to continue editing.
Change drawing settings
- Click the Settings button.
- Select the required colour and drawing size.
- Continue drawing with the new settings.
Screen Reference
A detailed description of various screen elements:
Creating a Diagram
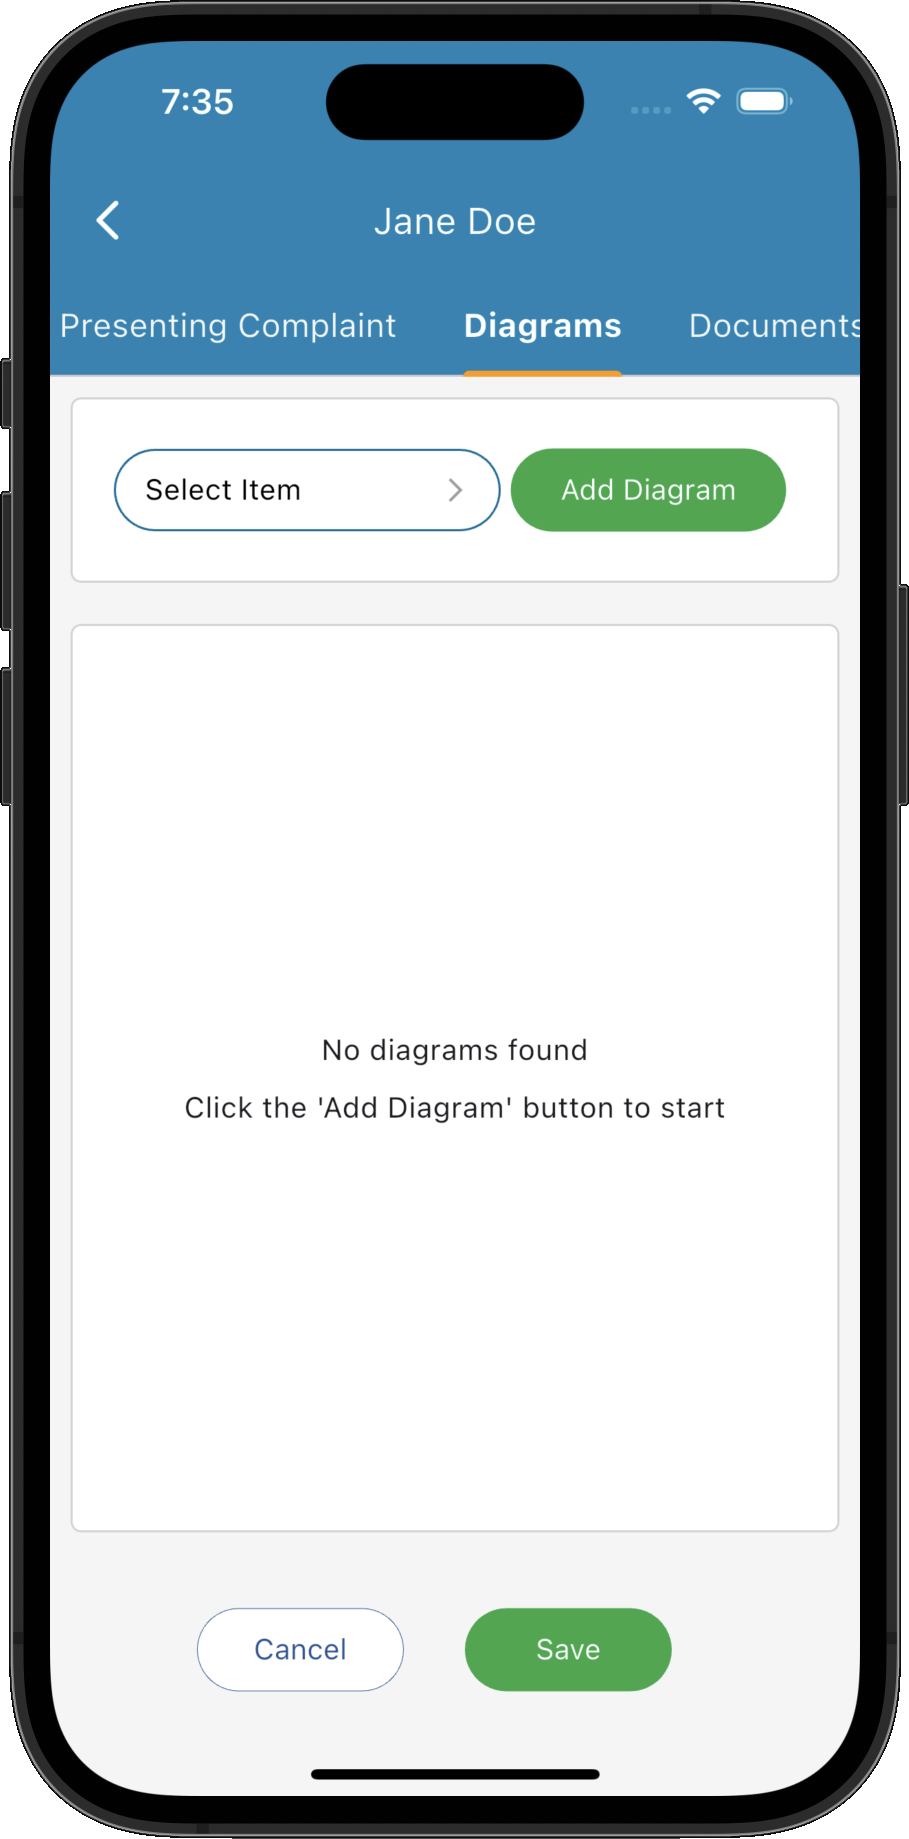
When no diagrams exist, the Diagrams tab displays a placeholder message inviting you to create your first diagram.
Clicking Add Diagram creates a new blank drawing canvas ready for annotation.
Diagram List
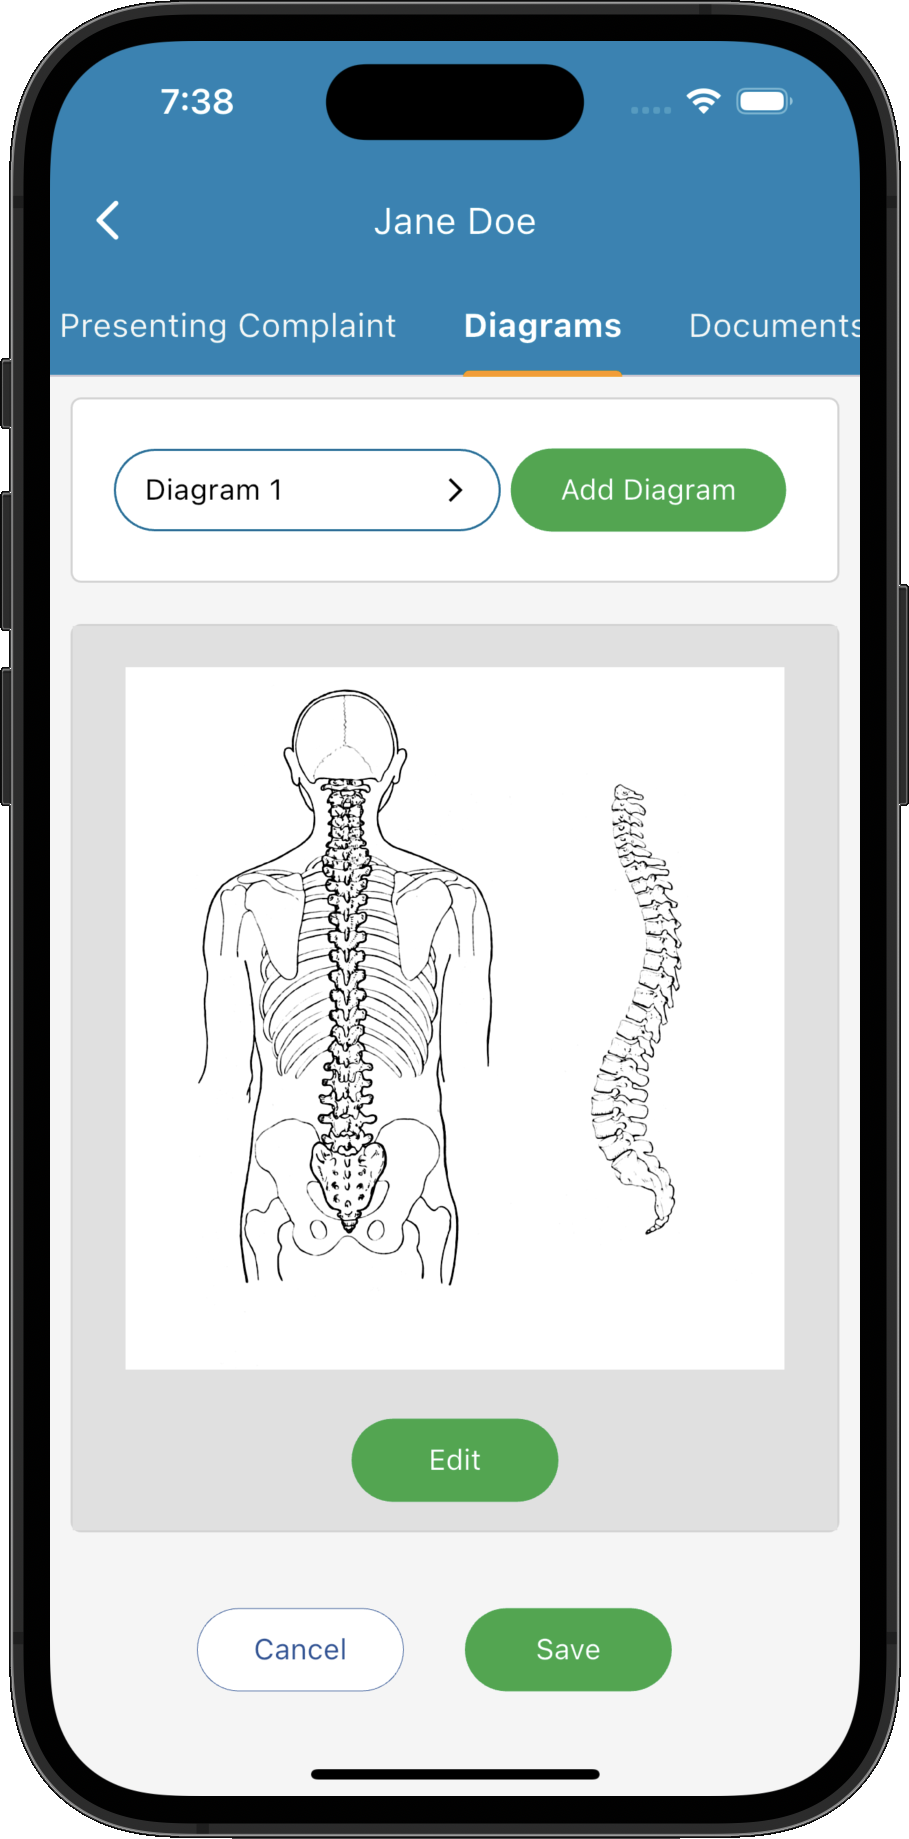
Every diagram created during the consultation appears in the list on the left-hand side of the screen.
Selecting a diagram immediately loads it into the editor, allowing you to move between multiple diagrams without losing your work.
Blank Canvas
- Draw directly onto the blank canvas.
- Add text annotations.
- Create simple diagrams without a background image.
- Add a background image at any time.
New diagrams begin as a blank white drawing canvas.
You may:
Change Background
Clicking Change Background allows you to choose an anatomical illustration or other background image.
Once selected, the image becomes part of the diagram and may be freely annotated using the available drawing tools.
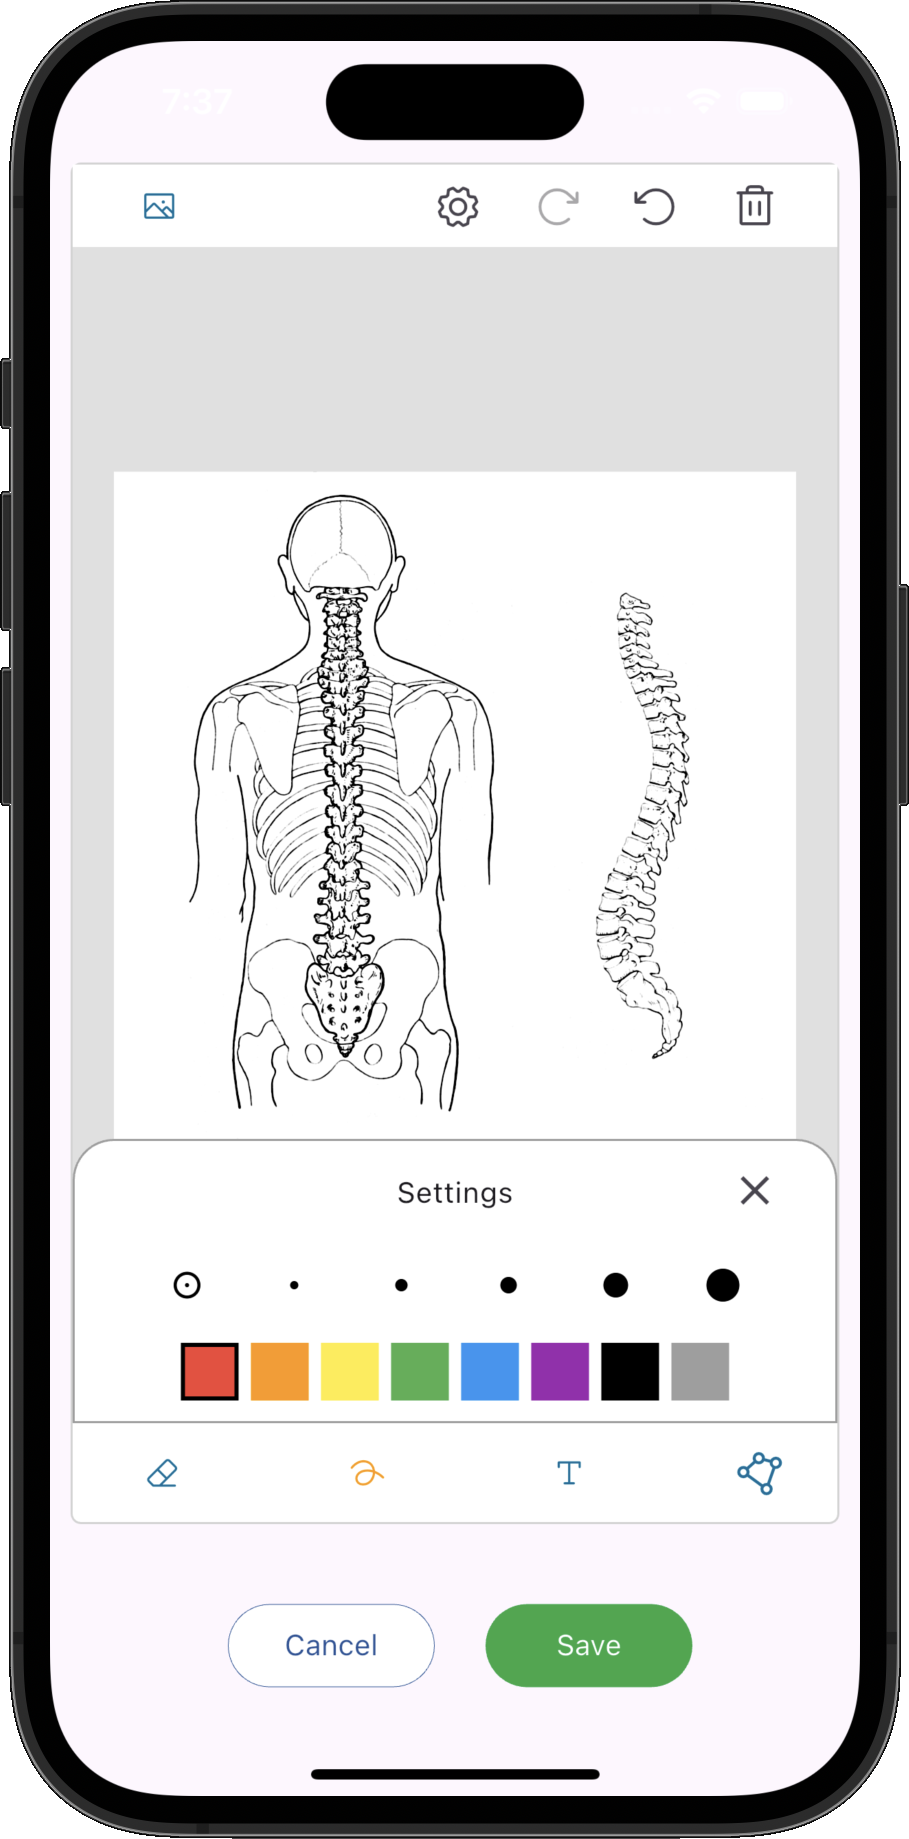
Drawing Tools
- Drag - Move around the diagram.
- Eraser - Remove existing annotations.
- Freehand Draw - Draw naturally using the mouse, stylus or touch.
- Text - Insert text labels.
- Line - Draw straight lines.
- Arrow - Draw directional arrows.
- Double Arrow - Draw arrows at both ends.
- Ellipse - Highlight areas using circles or ellipses.
The toolbar provides several annotation tools including:
Settings
- Drawing colour.
- Pen and line thickness.
- Tool-specific options where applicable.
The Settings button controls the appearance of the currently selected drawing tool.
Available options include:
Undo and Redo
Undo and Redo allow recent drawing actions to be reversed or restored while editing the current diagram.
Delete Diagram
Removes the currently selected diagram from the consultation.
Save
Saves all diagrams as part of the patient's consultation notes.
Complete
Finalises the consultation. Once completed, diagrams become part of the permanent clinical record.
Side-by-Side
Opens the consultation in side-by-side mode, allowing diagrams to be viewed alongside other patient note tabs while documenting the consultation.